
Tap the Touch Panel to control how you choose the room's projector display layout. The Touch Panel is where you perform your Zoom Meeting room controls, such as allowing Zoom participants to join, muting their mics or turning off their cameras, and ending the meeting.
Plug the provided USB-C connector into your device to project onto the room projectors. If your device does not have a working USB-C port, connect via the Zoom Room.
This credenza at the front of the room houses the equipment to project your device on the projectors. You can also plug in your device chargers or wirelessly charge small devices.
Plug the provided USB-C connector into your device to project onto the classroom projectors. If your device does not have a working USB-C port, connect via the Zoom Room.
Usually located near the front of the room, the classroom microphone is designed to capture both the instructor’s voice and nearby student voices for Zoom recordings.
Audio will play through the room’s speakers when your device is connected via the provided USB cable at the Classroom Media Station (credenza) or when you join Zoom using the room’s Touch Panel code.
Your device will automatically display on the projector when connected via the USB cable at the Classroom Media Station (credenza) or when you join Zoom using the room’s Touch Panel code.
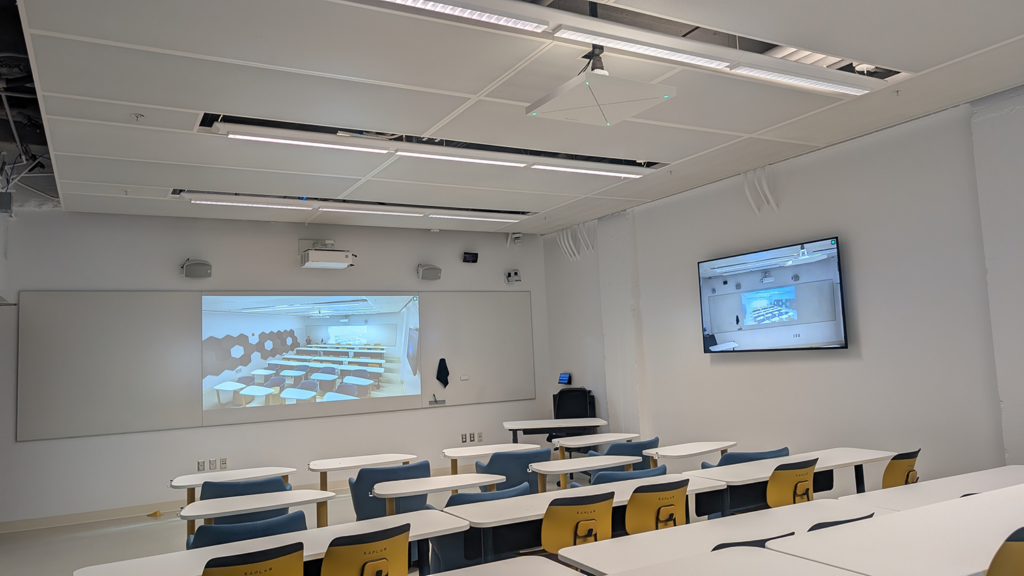
A camera positioned to face the classroom, displaying students in the Zoom gallery view during class sessions.
Located in the front credenza, this station houses the equipment needed to project your device to the classroom screens. It also includes outlets and a wireless charging pad for powering your devices.
Students can unlock and rearrange the furniture to create flexible seating configurations that support pair and group work.